This is the setting I use in Unreal Engine 5 to render the level (maps) into movie clips before then being edited in video editing software such as Final Cut Pro X or Adobe Premier Pro.
Rendering Out The Video
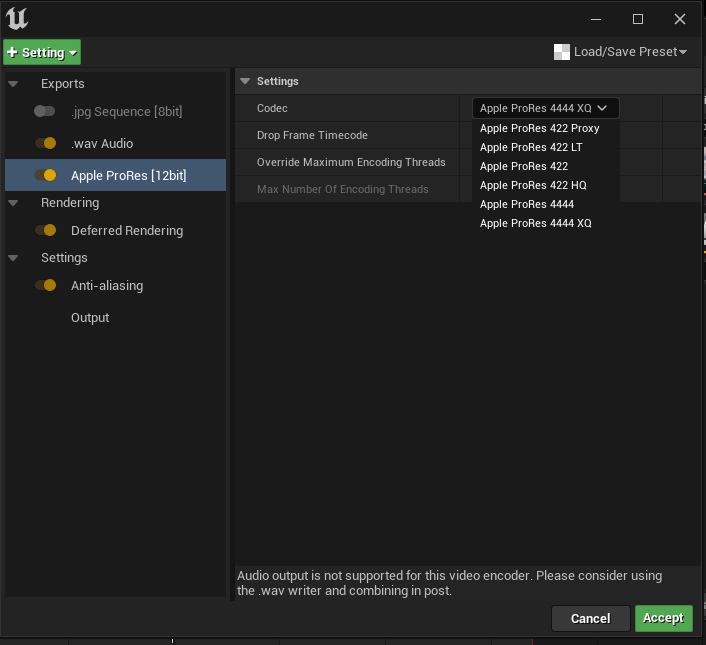
I use Apple ProPres [12bit] (which needs to be enabled in Unreal Engine 5 Plugin Settings), to render the video. Some like to use a .png sequence, but I found out that this is an easier and faster workflow.
I usually render out to Apple ProRes 422 which is the industry standard around this region.
We also need to enable .wav Audio so that the video will have sound. The audio will be rendered separately.
Deferred Rendering
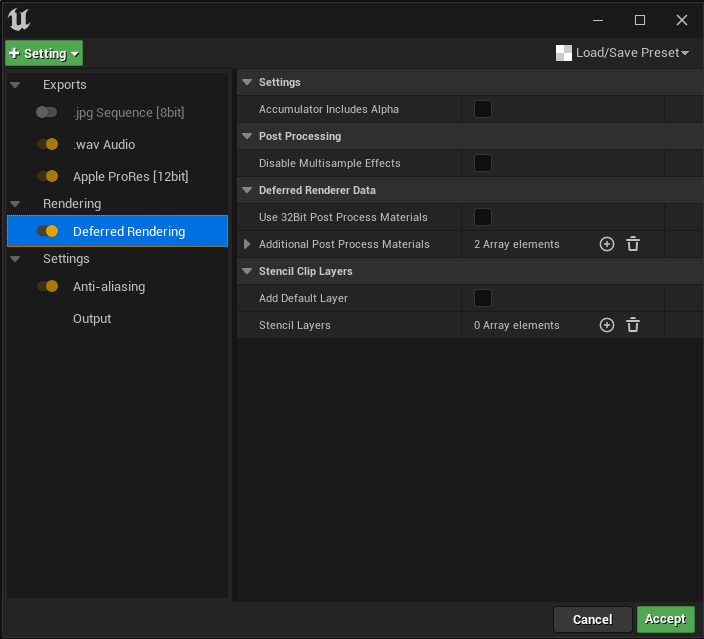
I usually just enable Deferred Rendering without changing anything in its settings.
Anti-Aliasing
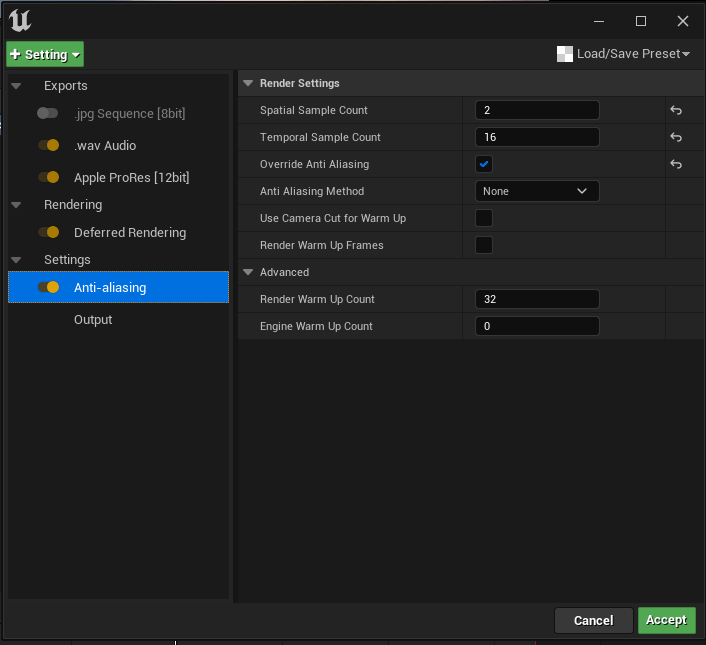
Anti-Aliasing is quite an important setting to make the look cinematic. The settings that I use are as below;
Spatial Sample Count : 2
Temporal Sample Count : 16
Override Anti Aliasing : Checked
Anti Aliasing Method : None
Console Variable
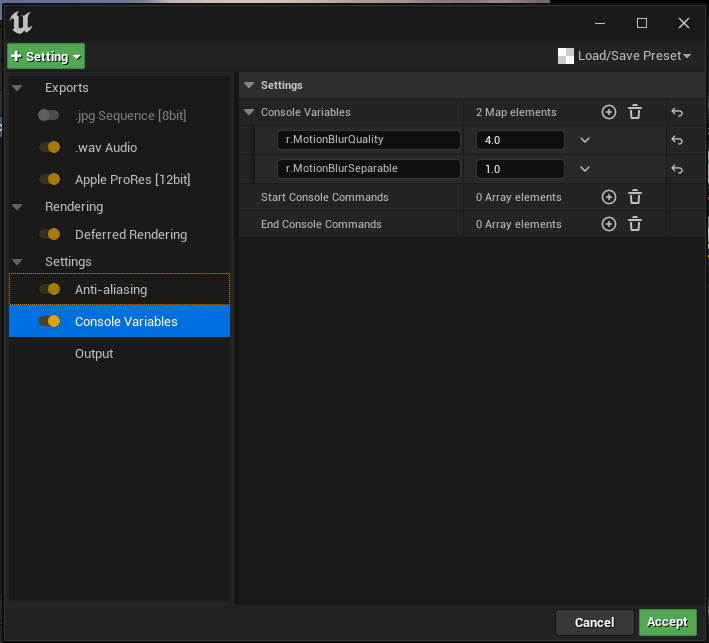
I add 2 Console Variables to this Console Variables.
r.MotionBlurQuality : 4.0
r.MotionBlurSeparable : 1.0
Output
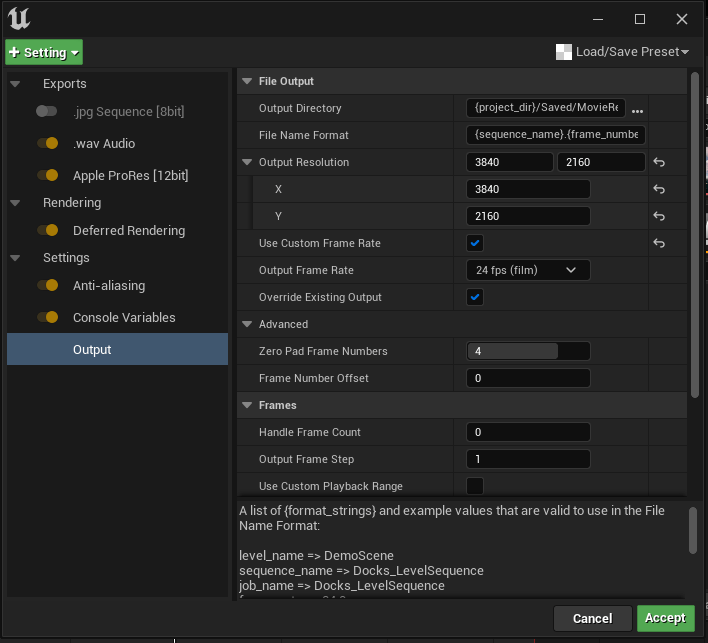
In Output I only change the output resolutions to what I want, in the screenshot above is 4K resolutions output. Your needs may be different.
I also choose to “Use Custom Frame Rate” which is 24 frames per second which is the normal film and cinematic frame rate.
It is a good idea that you save this as preset, just in case you need to re-render the scenes if you want to do some changes to the scenes after rendering it out.
0 Comments